# Set Up tab
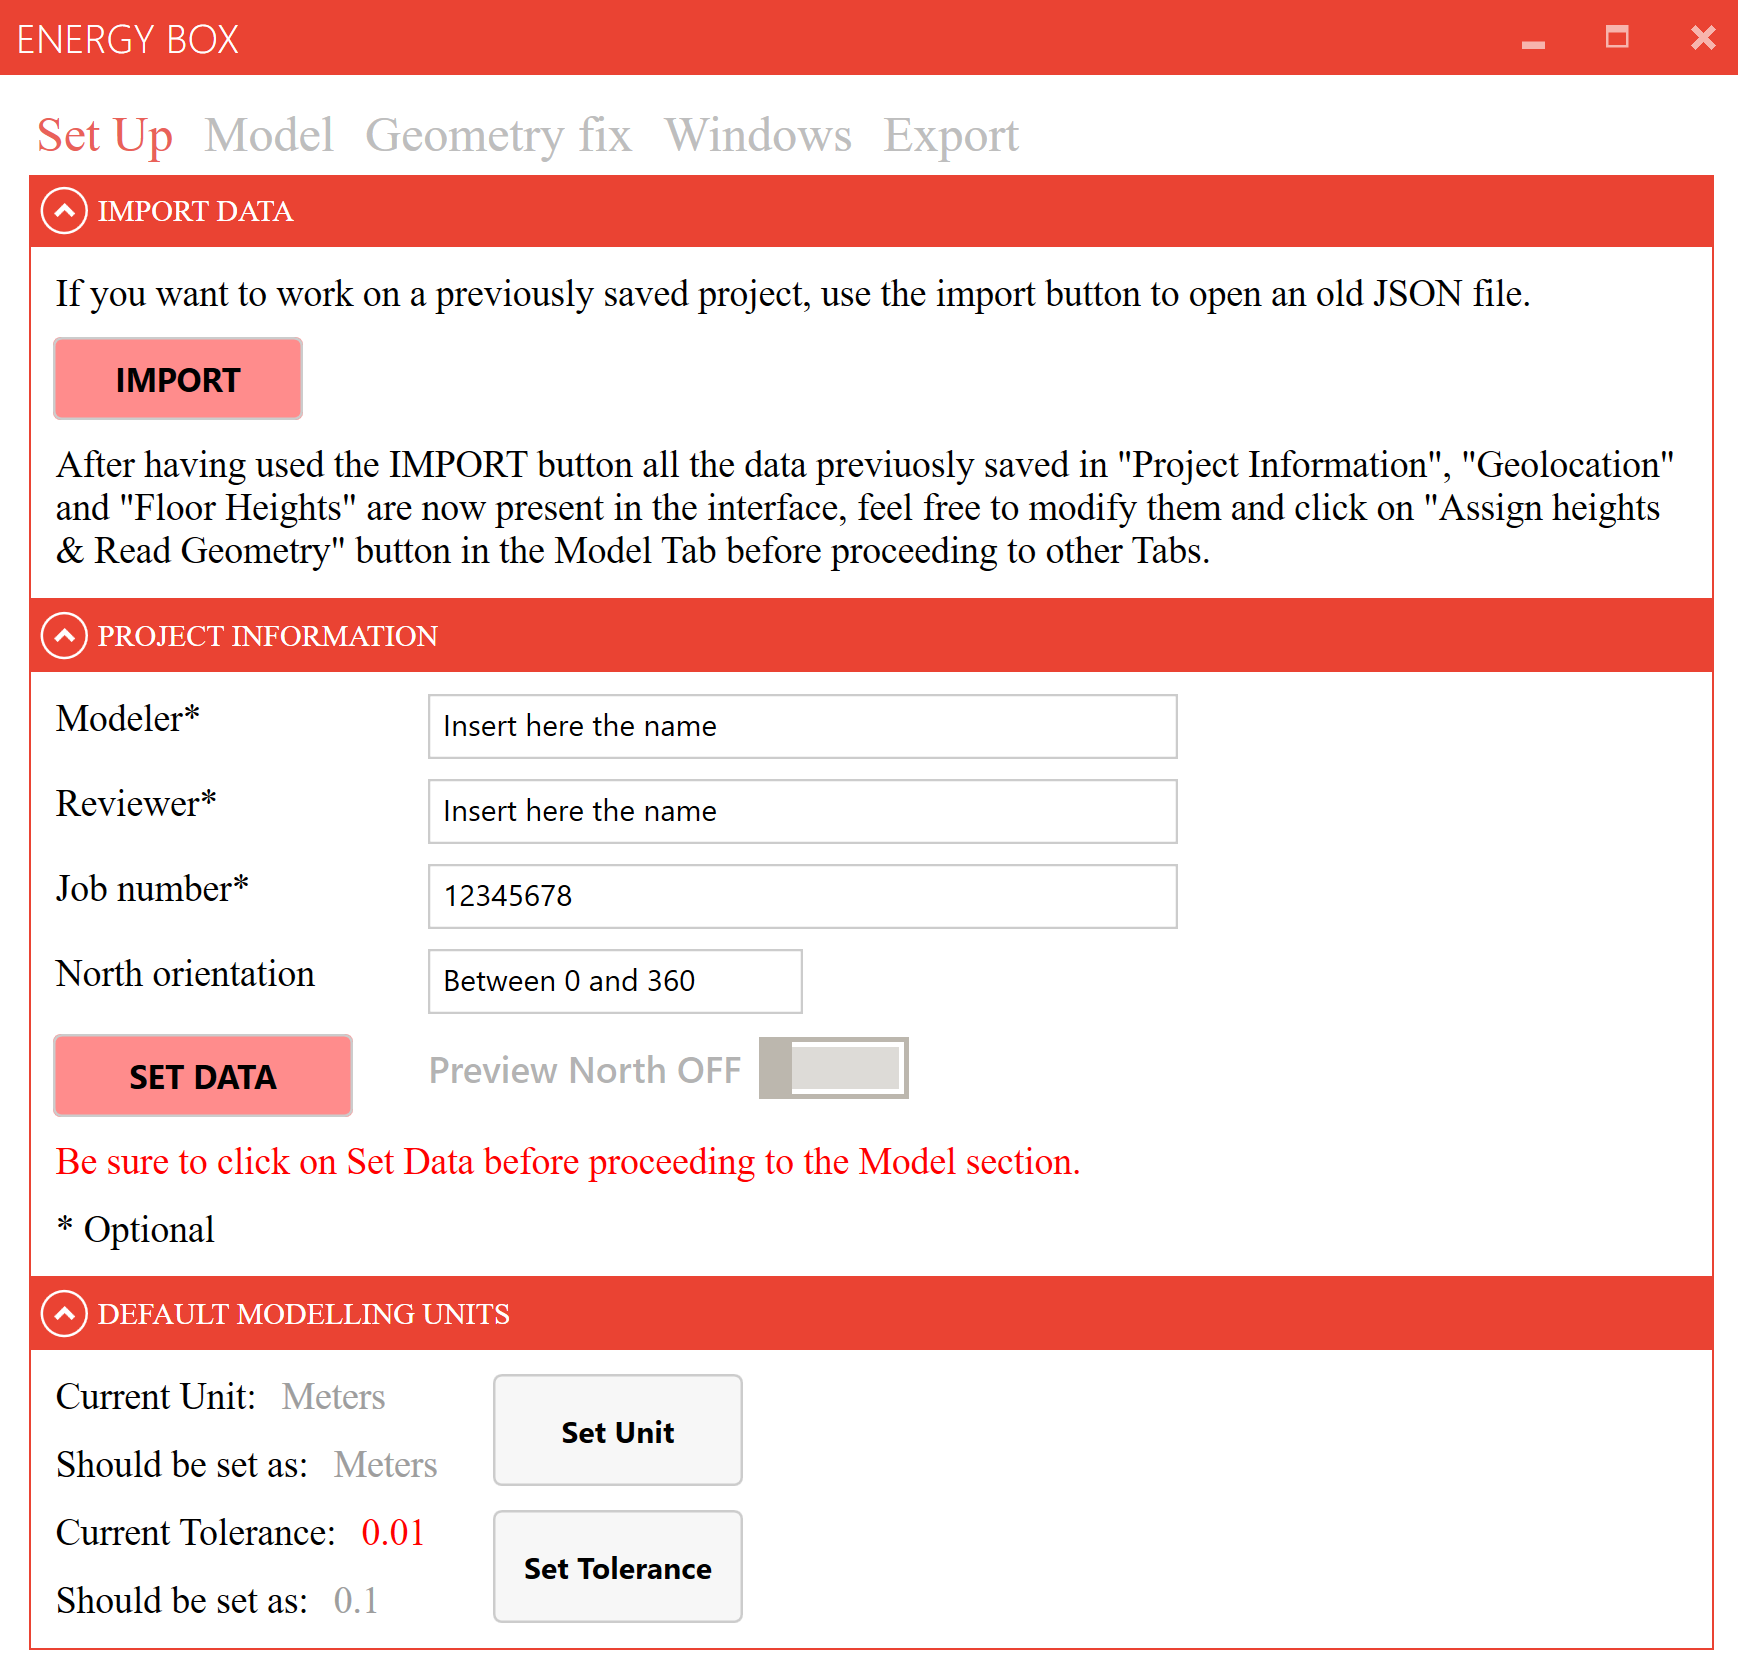
# Import Data section
Tip:
If you are starting a new model, ignore the “IMPORT DATA” sub-section.
This sub-section enables the importing of previously saved EnergyBox projects (this functionality is covered in the Model tab).
To continue work on a previous model:
First open the associated Rhino model → open the EnergyBox UI → click on IMPORT, browse and select the desired .JSON file (the information from the EnergyBox interface is saved in this format).
Warning:
Be aware that the .JSON import does not contain the geometrical information. The Rhino model/file must be opened as well.
# Project Information section
In this section you can enter information about the project you are working on and the building/site orientation:
- The “North orientation” field is compulsory (0 is equivalent to the North).
- All other entries are optional, unless the EnergyBox script 2 will be used (in which case all fields should be completed).
After the project information has been entered, click SET DATA to save.
Tip:
Regarding the Job Number field, please enter the 8 digits of the Job Number without the dash.
# Preview north arrow
Once the data has been set, it is possible to toggle on the North Preview.
The north orientation value can be adjusted as needed, and the preview will be updated each time SET DATA is pressed.
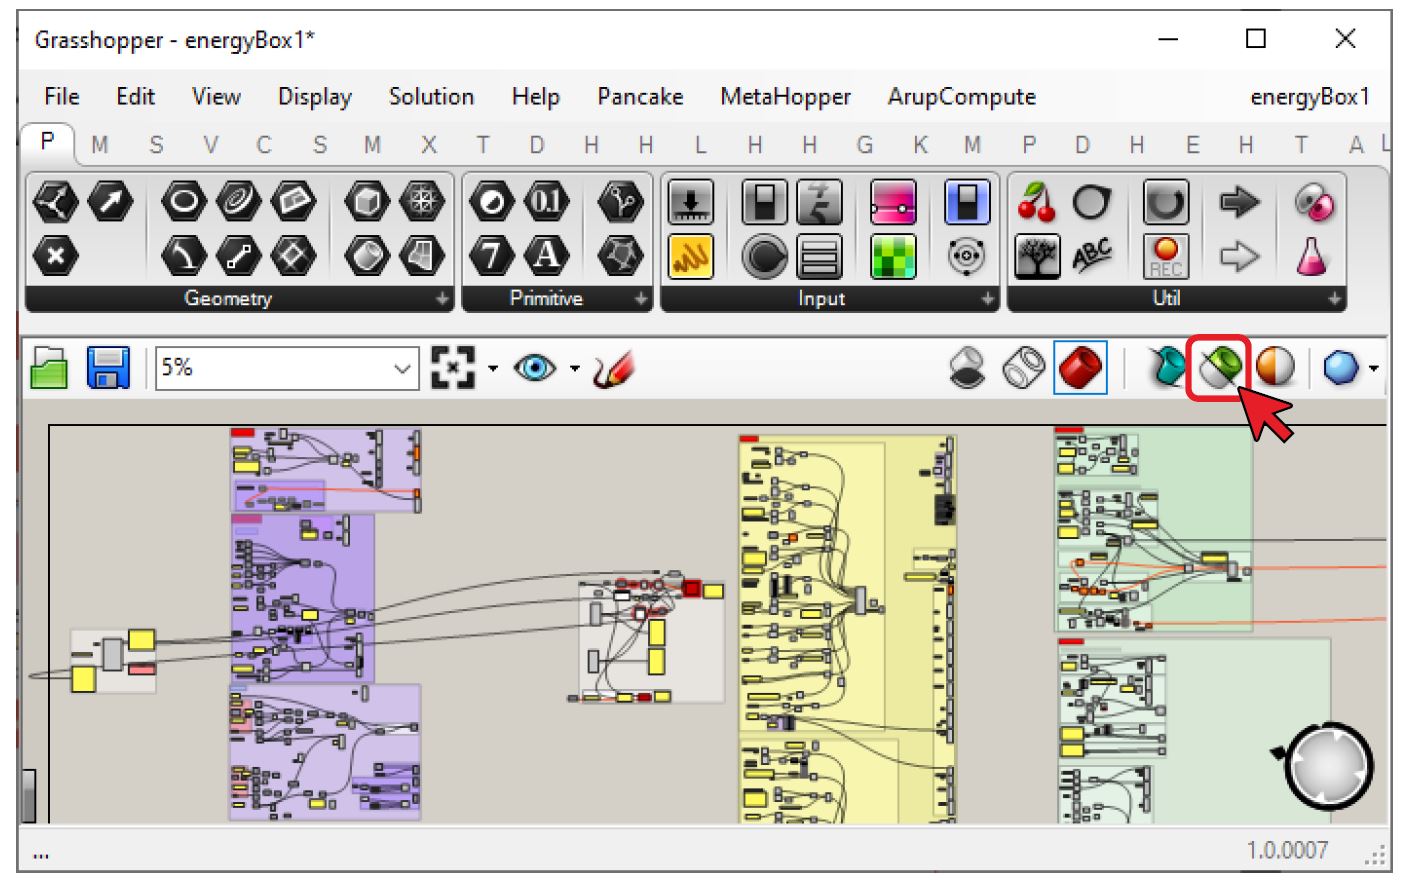
Tip:
Should the preview not be shown, open the Grasshopper window, and disable “Only draw preview geometry for selected object”. Please ensure to minimise the Grasshopper window thereafter – do not close it.
# Default Modelling Units section
The EnergyBox interface only works correctly if the unit of measurement is set in metres and the tolerance¹ is 0.1.
If this is not the case, simply click on the two buttons next to the two fields to automatically change these values and correct them.
¹Tolerance is the maximum distance that 2 objects or elements can have, in order to still be considered contiguous and therefore connectable.