# Export tab
# Geolocation section
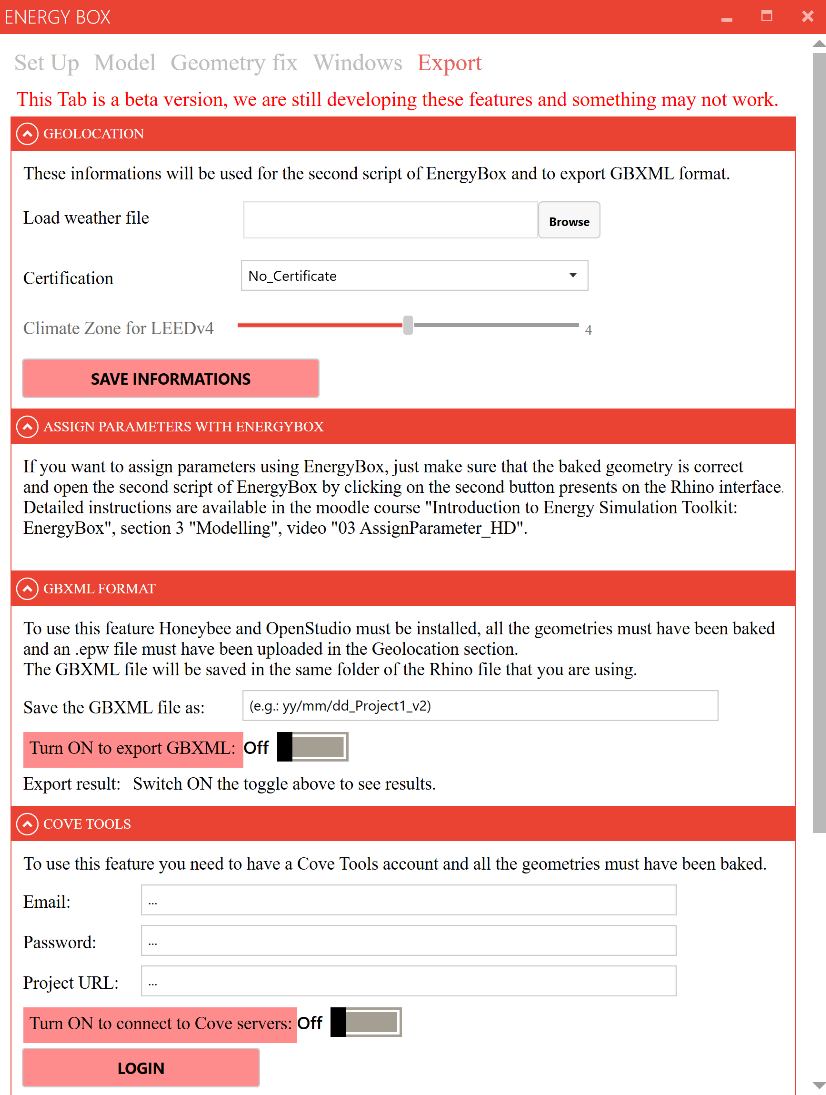
In this section, it is possible to choose the Weather file, Certification and Climate Zone for the location of the modelled building. This information will be used in 2 cases:
- Export in GBXML format
- Assignment of parameters using the first version of EnergyBox
To load the Weatherfile file, simply click on the Browse button and select the .epw file related to the city of your building.
Regarding Certifications, you can currently choose between:
- BREAM+
- LEED v4
- No certificate
The possibility of choosing Climate Zones is only active in the case of LEEDv4 certification.
Once you have completed this section, remember to push the Save Informations button.

# Assign Parameters with EnergyBox section
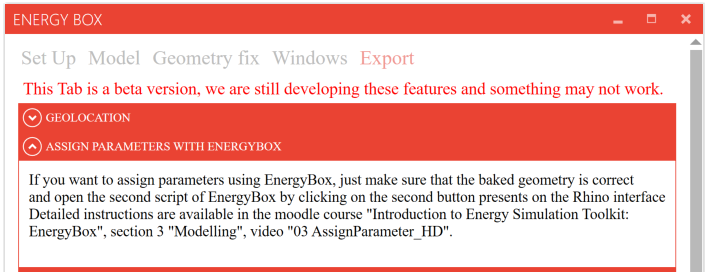
If the parameters need to be assigned using the original EnergyBox workflow, which is used in East Asia, simply ensure that the baked geometry is correct and open the second script of EnergyBox by clicking on the second button in the Rhino interface.

Tip:
Detailed instructions are available in the moodle course "Introduction to Energy Simulation Toolkit: EnergyBox" (opens new window), section 2 "Modelling", video "03 Assign_Parameter_HD".
# GBXML format section
To use this feature:
- Honeybee and OpenStudio must be installed
- All the geometries must have been baked correctly
- An
.epwfile must have been uploaded in the Geolocation section

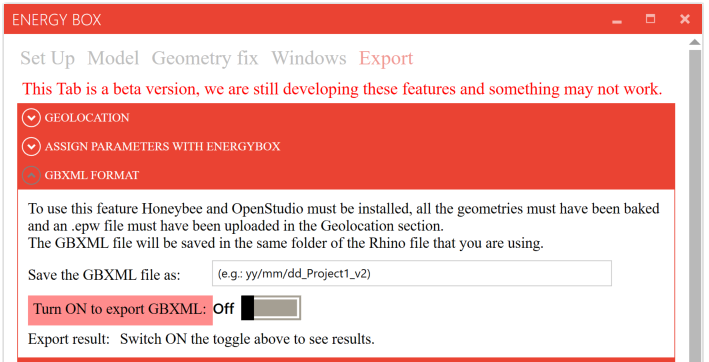
To export the file in GBXML format, enter the project name in the designated text box and switch the toggle to ON to initiate the export.
Beneath the toggle, you will find the export results.
The GBXML file will be saved in the same folder as the Rhino file you are currently working with.
# Cove Tools section
Warning:
It is highly possible that Arup will not renew the global license with cove.tools.
Make sure you have downloaded all relevant project data that you may need in the future.
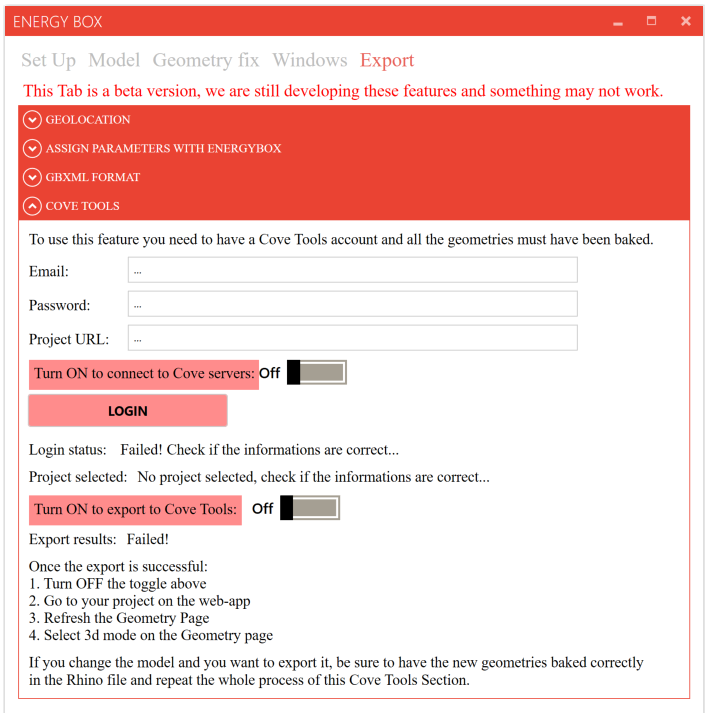
Another option available is to export the model to Cove.tool (opens new window) To use this feature:
- A Cove.tool account must be created
- All the geometries must have been baked correctly
If the 2 requirements are met, simply enter the Cove.tool account details (Email, Password (or API key) and URL of the project within the Cove.tool servers), and switch the toggle to ON to connect to Cove server.
Once this is done, click on the Login button to access the user's account.
Tip:
Pay attention to the Login status to find out whether the connection was successful or not.
If the login was successful, in the Project selected field you will see the name of the Cove.tool project corresponding to the URL. This will be the project that will be used to upload the Rhino model to the Cove servers.
Once you have logged in, simply switch ON the To Export to Cove Tools toggle to upload the building to the Cove.tool cloud.
The Export results indicate whether the export was successful or not.
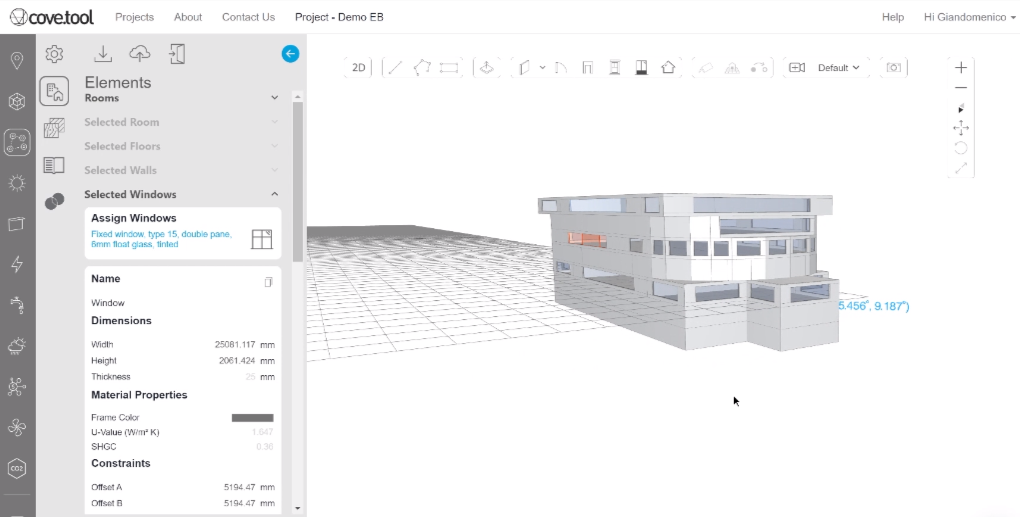
If the export was successful, just turn OFF the toggle associated with Export and proceed to verify in the Cove Tool web app — after refreshing the Geometry Page and selecting 3D mode — that the project has been uploaded correctly.
In the event of model modifications requiring a re-export, ensure that the new geometries are correctly baked in the Rhino file and repeat the entire process outlined in this Cove Tools Section.
← Window tab FAQ →